The Organization level permits editing of details and configuration for the Organization. Only an Organization Focal Point can
edit organisation details.
The Organization level offers five tabs “Field Activities”, “Dashboard Accounts”, “Field Staff”, “ODK Forms” and “Base Layers”:
GTS Dashboard available tabs at the Organization level
From the Field Activities tab, it is possible to create and edit the activities that are to be tracked by the GTS. Field activities
are primarily defined by the interval at which tracks are collected as well as the time of day and speed of travel that determine
the validity of a tracking point.
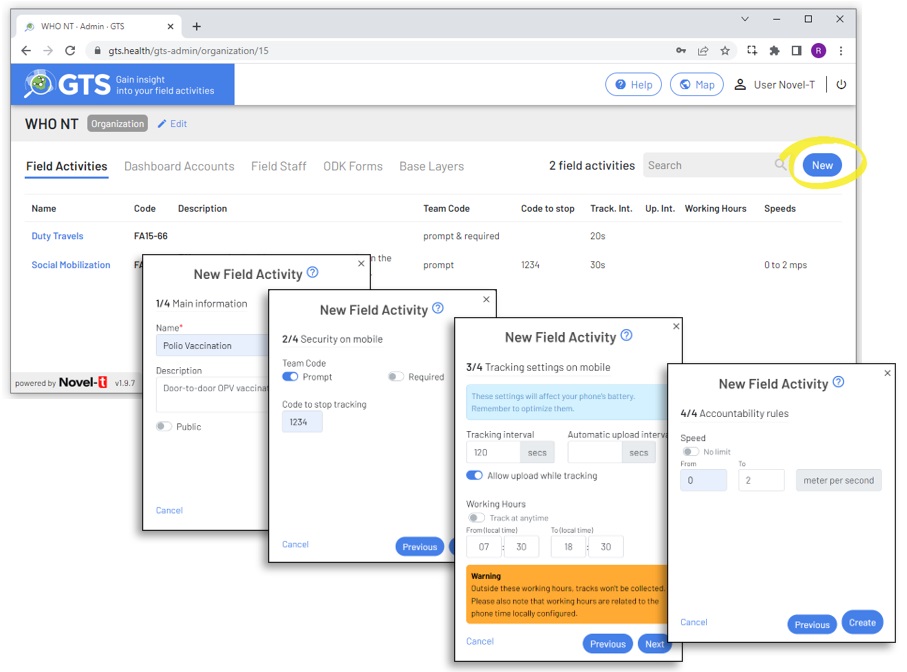
To create a new field activity, navigate to the field activities tab at the organizational level and click on the “New” button. This
will open a four page wizard that guides the creation of new field activities (items marked with a red asterisk are required):
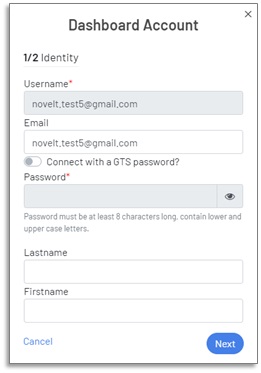
The first form of the wizard receives the new activities main information:
Name: Full name of the activity
Description optional (all items marked with a red asterisk in wizard forms are required, otherwise they are optional)
The second form concerns security on mobile devices tracking the activity:
Team Code: Team codes are short descriptions entered by field staff in the mobile app when tracking starts. They may be omitted, prompted for, or required. Team codes may be free text or selected from a predefined list. Team codes are useful in situations where many field staff use the same generic login yet need to be distinguished.
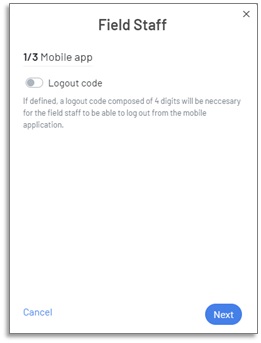
Code to stop tracking: An optional 4 digit code may be assigned to stop tracking, this may prevent field staff from inadvertently stopping tracking of a field activity. Leave this entry blank if no stopping code is required.
The third form in the wizard collects tracking settings:
Interval: The time between the collection of tracking coordinates in seconds, by default every two minutes (120 seconds)
Allow upload while tracking: The GTS mobile application can deliver real time tracking providing Internet connectivity exists, use this feature with caution as it may result in excessive mobile data charges.
Working Hours: The time during which tracks are collected may be set. Outside of this timing no tracks are collected, this serves both to save AAndroid battery charge and to respect field staff privacy when not performing activities.
The fourth form in the wizard concerns accountability:
Speed: Optional limits at which speeds tracks are considered valid can be set. This may be useful in situations where field staff travel through one targeted area to get to another and don’t wish to record the first as visited.
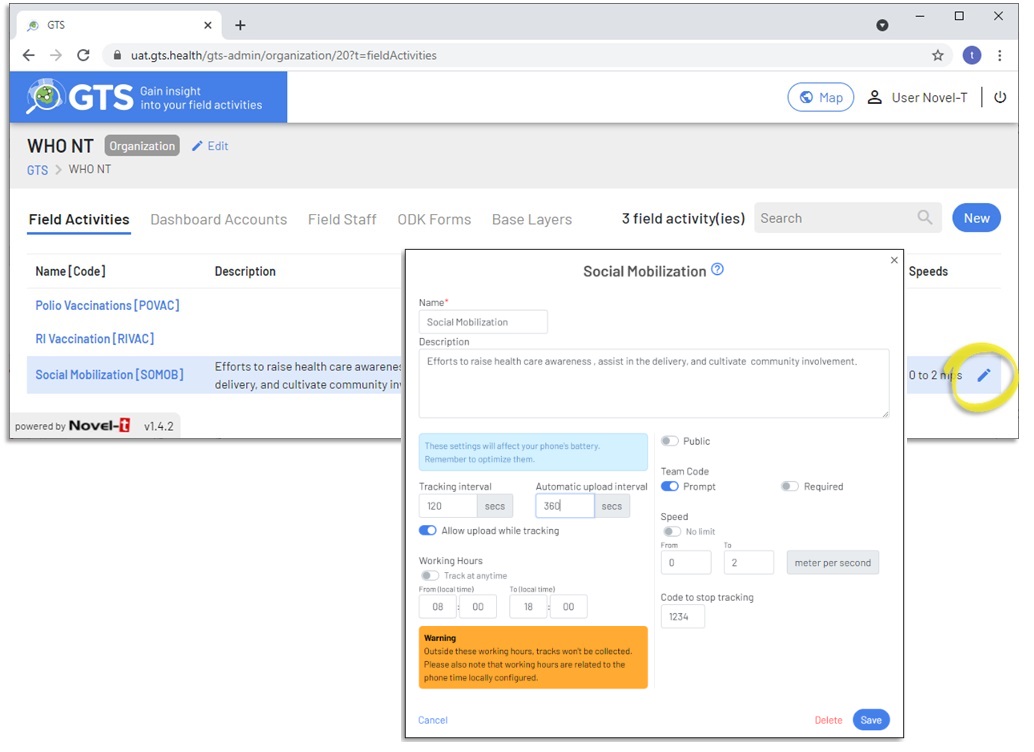
To edit an existing field activity, hover over the field activity line with your mouse cursor and click on the edit (pencil) icon
to the right of the activity entry to open the form on which to edit field activity settings. Caution should be taken when editing
field activities during a campaign as this may result with inconsistencies among field staff (differing tracking intervals for
example while Android phone await connectivity to update settings).
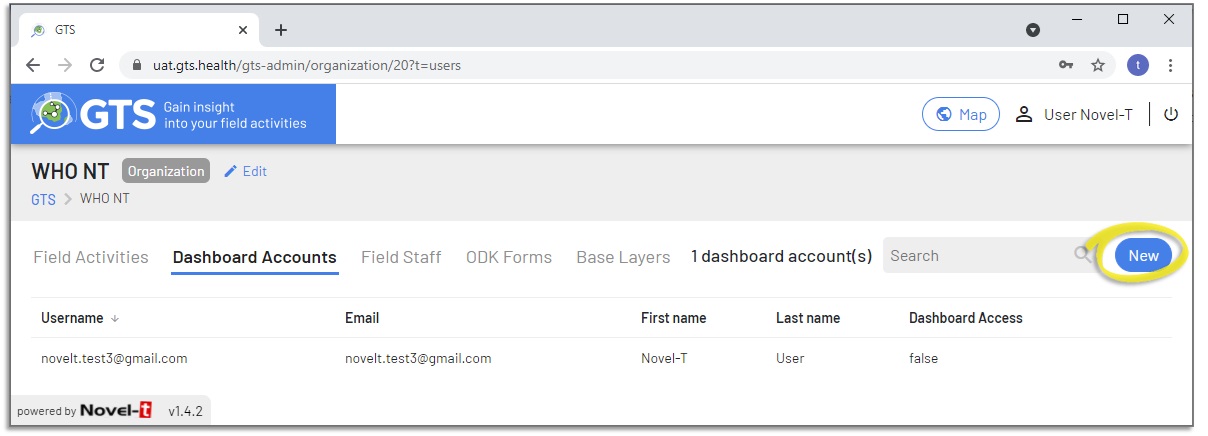
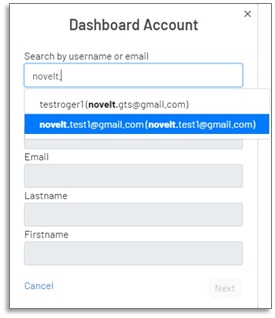
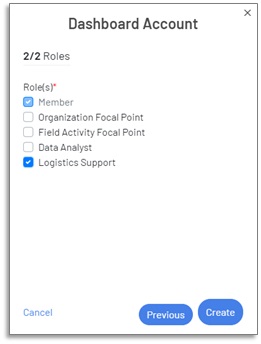
The Dashboard Accounts tab lists all users that have dashboard access for the organization. To create a new dashboard users account,
navigate to the Dashboard Accounts tab at the organizational level and click on the “New” button.
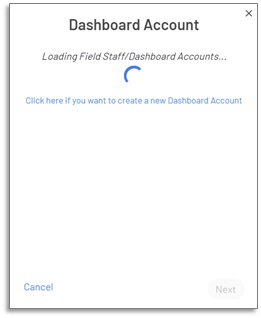
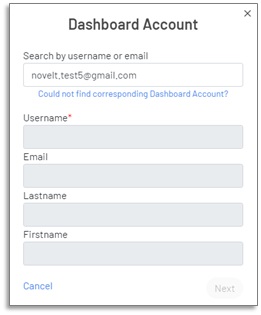
Dashboard accounts may either be imported from field staff, from another organization or they may be
created if they do not exist in the GTS environment.
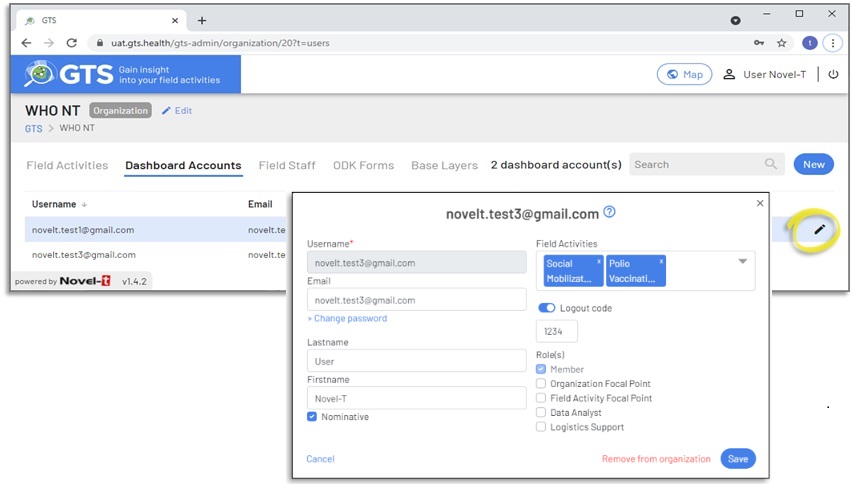
To edit existing dashboard accounts after they have been created or imported click on the edit (pencil) icon that appears to the
right when hovering over the account entry.
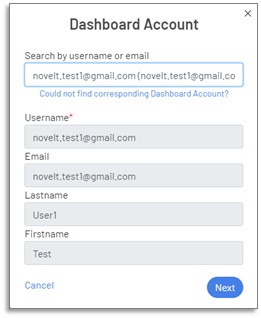
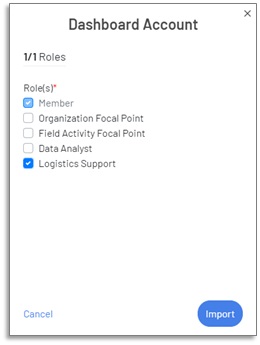
The Email address, last name, first name and roles attributed to the dashboard account may be edited, the username cannot be changed
once an account has been created
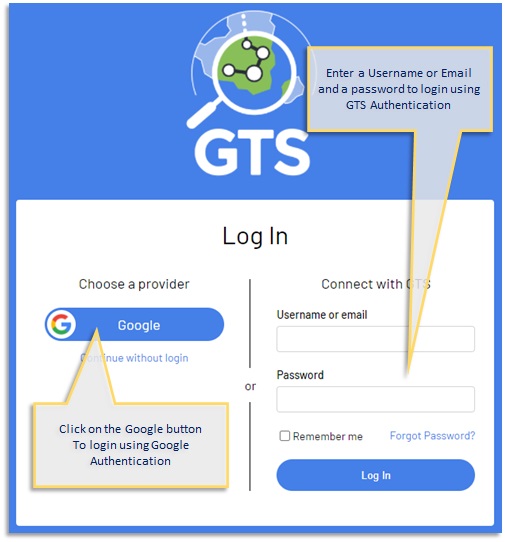
GTS Dashboard user may authenticate logins by two methods; connecting with GTS or Google authentication. Connecting with
GTS employs a typical Username/Password combination that is stored on the GTS server. Connecting with google authentication
permits users to connect using their Google credentials foregoing the need to remember GTS usernames and passwords.
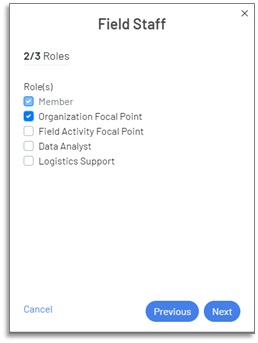
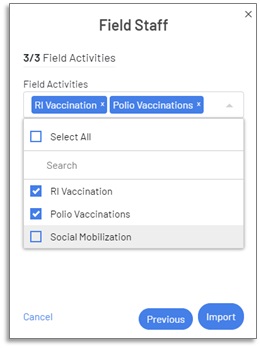
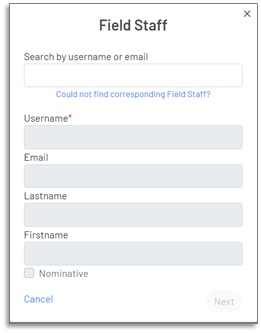
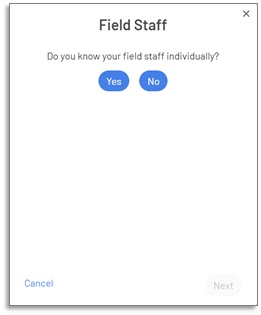
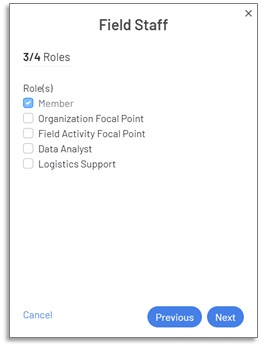
The Field Staff tab lists all users that may be assigned mobile application access for the organization. Field Staff may be nominative
or generic and a user may have both a Dashboard Account and Field Staff access simultaneously. To create a new field staff account,
navigate to the Field Staff tab at the organizational level and click on the “New” button.
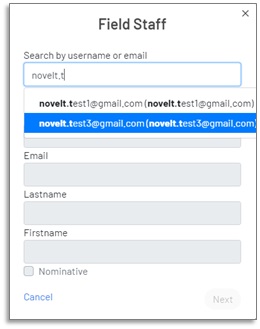
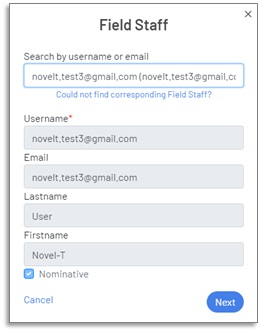
Field staff accounts may either be imported from dashboard accounts, from another organization or they may be created if they do
not exist in the GTS environment.
To edit existing field staff after they have been created or imported click on the edit (pencil) icon that appears to the
right when hovering over the account entry.
ODK forms may be associated with field activities, field staff will be able to use forms to capture contextual information from the Android device while
performing a field activity.
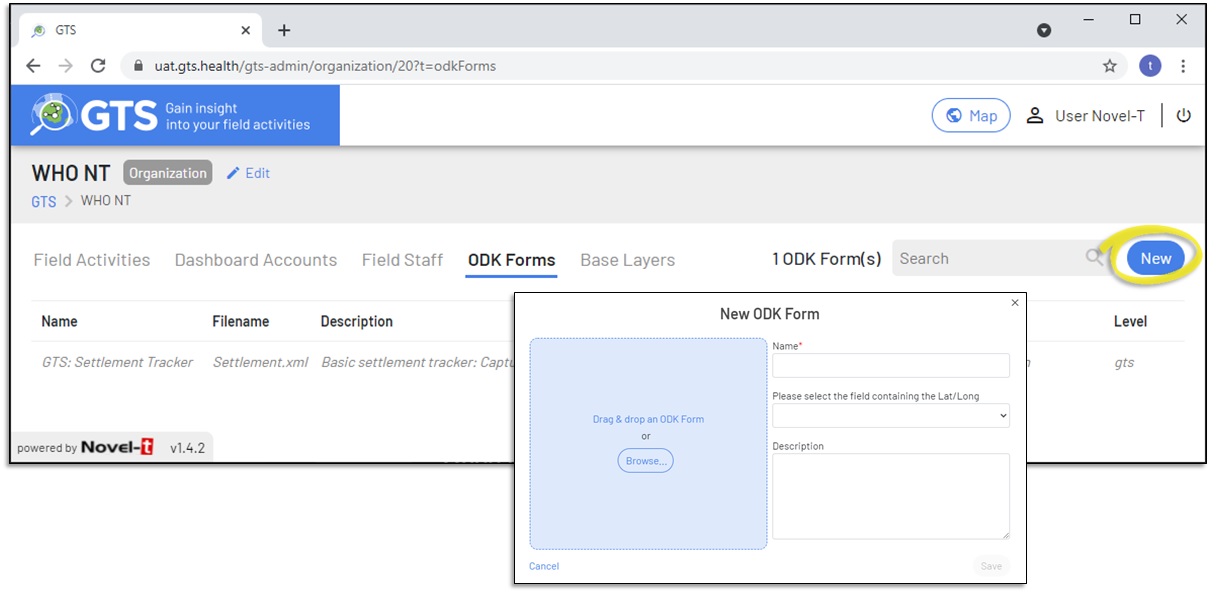
From the ODK tab, it is possible to view ODK forms that will be available accross the organization, either at the GTS level or at the Organizational level.
Click on the “New” button in the ODK tab at the organization level, to add an ODK form that will be available to all field activities in the organization.
ODK forms may be uploaded either as XLSForm .xml files or as .zip archives that may contain the .xml files and any associated itemsets.csv files and
Media directories containing media files.
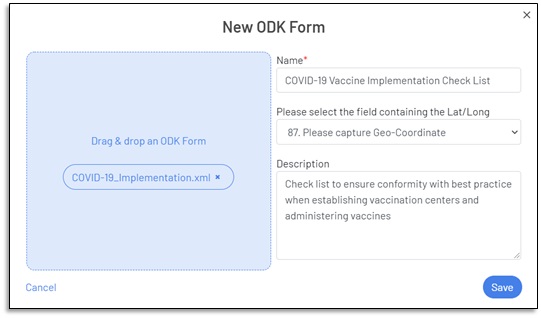
Drag and drop or browse to upload the .xml or .zip file that contains the ODK form. A name must be assigned to the form, the GTS automatically updates
the popup form with the name of a field that collects geo-coordinates, this may be changed if there are more than one geo-location widget on the form.
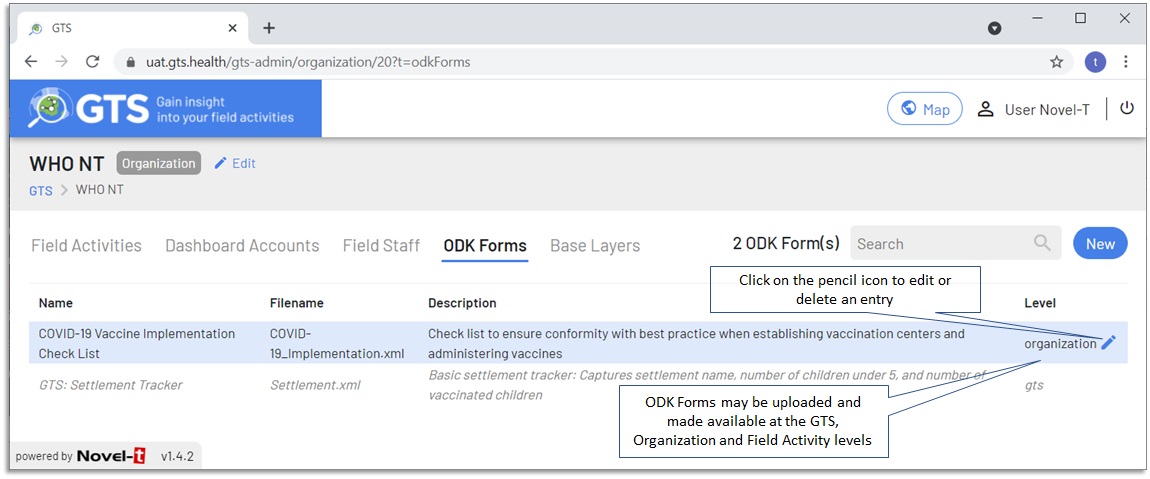
Once uploaded ODK forms may be edited or deleted as a function of their level and the role of the user editing the form, for example an Organizational
Focal Point can edit forms at the organizational level but they cannot edit forms at the GTS level. Forms will be uploaded to Android devices when the
GTS Mobile Application is installed or launched while the device has connectivity, forms that are displayed and made available in the Mobile app vary
depending on the field activity selected.
Base layers are nested shapefiles used for aggregation and geographic investigation. Typically base layer represent administrative boundary levels
(level 0 country, level 1 first sub-division etc.); however base layers may include any shapefiles that respond to field activity analysis needs such as
health zones divisions, water sheds, and the like.
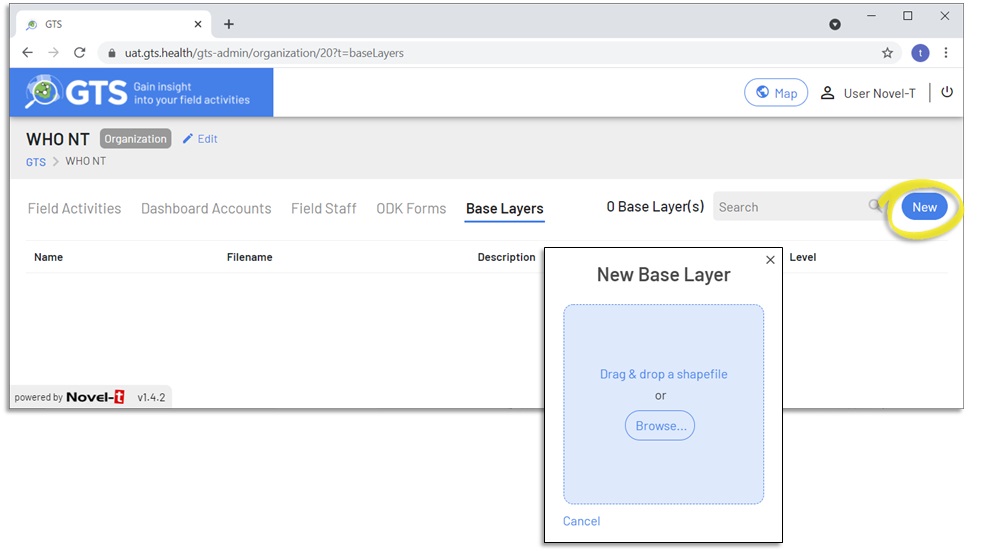
Click on “New” to upload a base layer. Base layers must be in ESRI Shapefile format within a .zip archive file.
The Base Layer upload wizard will present the following forms for completion.
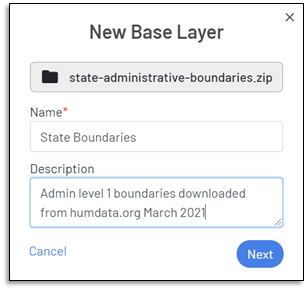
I) Enter a name and optionl description for the Base Layer
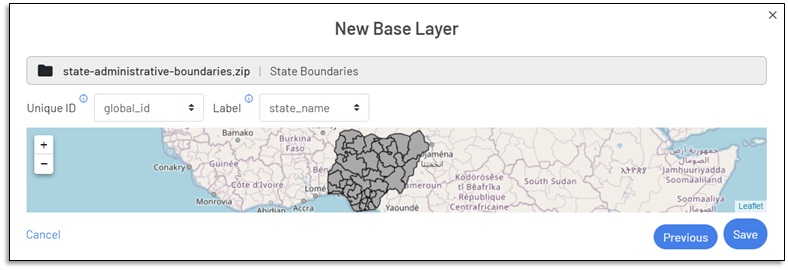
II) Select fields as Unique ID (for eventual time trend analysis) and Label (for map display and search funtionality) then click on the “Save” button to
uploaded base layer.
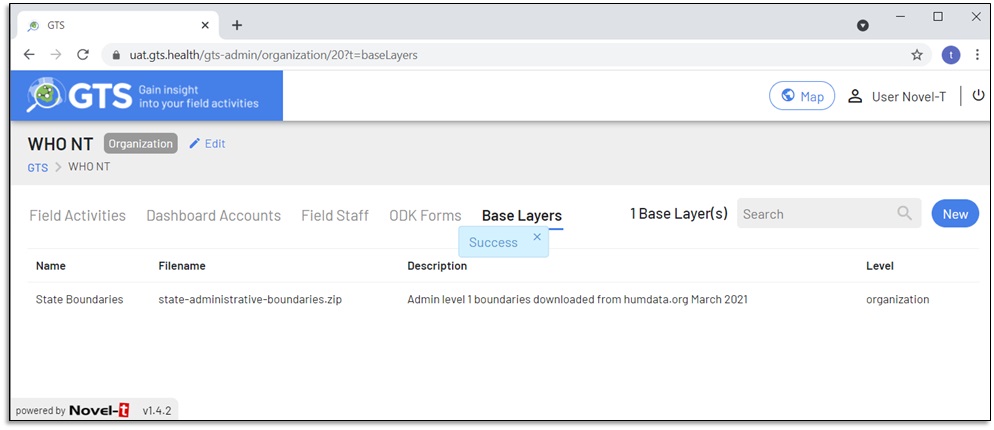
III) Upon successful upload, the GTS will return a “Success” message and the base layer will appear in the list.
Once uploaded, Base layers may be edited or deleted as a function of their level and the role of the user editing the form. Base layers will
be used in conjuncture with Targeted Areas layers to provide aggregated geographic analysis. For example the number and percentage of targeted
areas visited at the state, local and ward levels.
Click on a field activity Name to drill down to the field activity level.